Introduction to Classic Apple Crisp Recipe
A warm hug of nostalgia: Why apple crisp is the ultimate comfort food
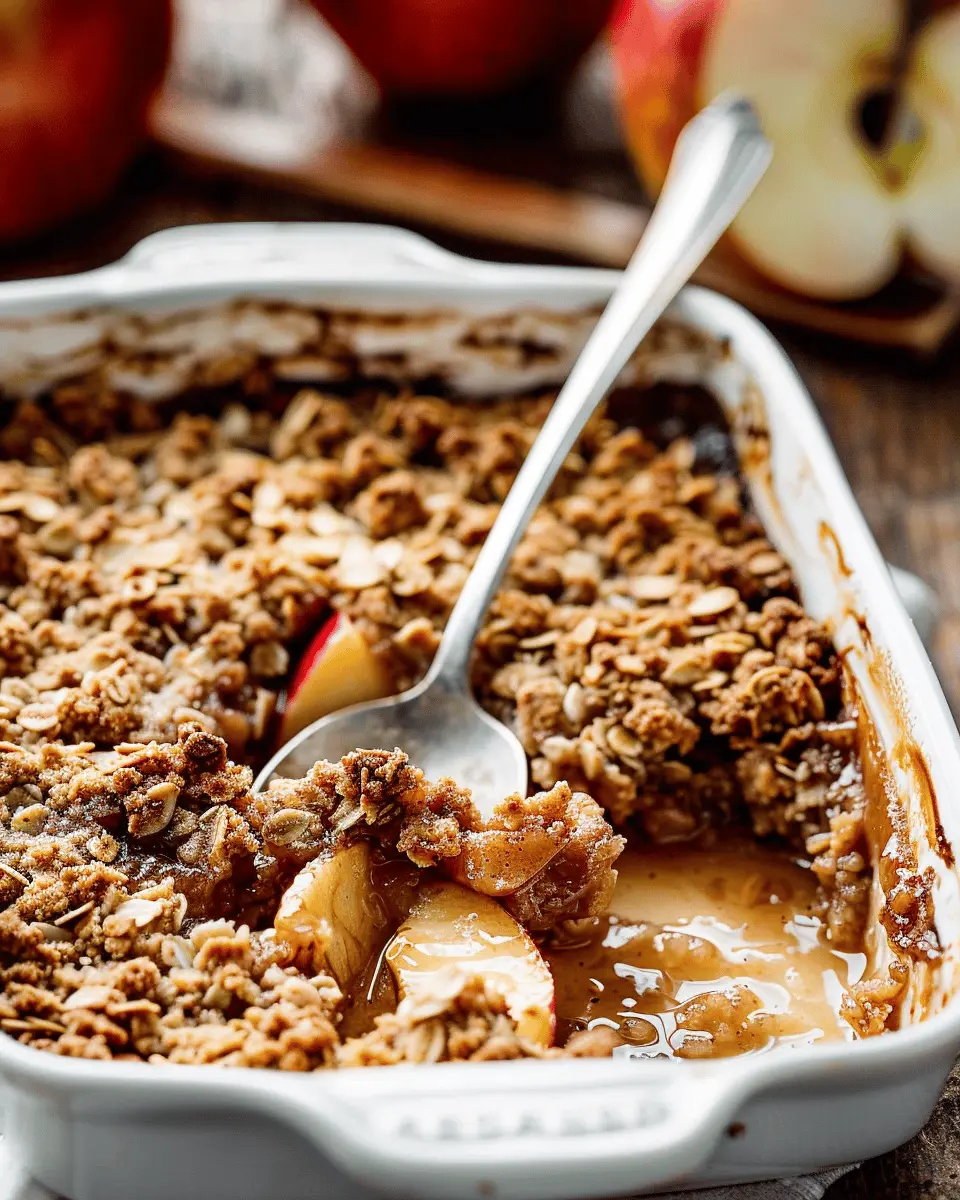
When it comes to comfort food, few dishes evoke as much warmth and comfort as a classic apple crisp. This delightful dessert is more than just a culinary treat; it’s a memory-laden experience that transports many of us back to our childhoods. Perhaps you’re reminded of family gatherings, where laughter echoed alongside the aroma of cinnamon and baked apples wafting through the air. Can you think of a better way to relish the cooler months than with a steaming bowl of this delightful dish?
What makes the classic apple crisp recipe so special? It’s that perfect balance of tender, sweet apples topped with a crunchy oat topping that adds the right amount of texture and flavor. The warm spices—like cinnamon and nutmeg—are comforting and inviting, wrapping you in a cozy embrace with every bite. In fact, studies have shown that certain scents, like those from baking, can evoke strong emotions and memories. So this isn’t just dessert; it’s a canvas for nostalgia.
But let’s not forget about the health benefits of apples! Loaded with antioxidants and dietary fiber, apples can contribute to a balanced diet. Check out this research from the Harvard Health Publishing that discusses different varieties of apples and their respective health benefits. Choosing an assortment of apples for your crisp can elevate the flavor while also giving you a boost of nutrition.
Whether you’re in search of a simple weeknight dessert or something to impress at your next dinner party, the classic apple crisp recipe ticks all the boxes. It’s easy to customize; feel free to throw in some nuts for added crunch or a handful of dried fruits for a twist. So, don your apron, and let’s dive into the world of warm, cinnamon-scented goodness that is apple crisp. You won’t just be making dessert—you’ll be creating memories that will last a lifetime.
Ingredients for Classic Apple Crisp
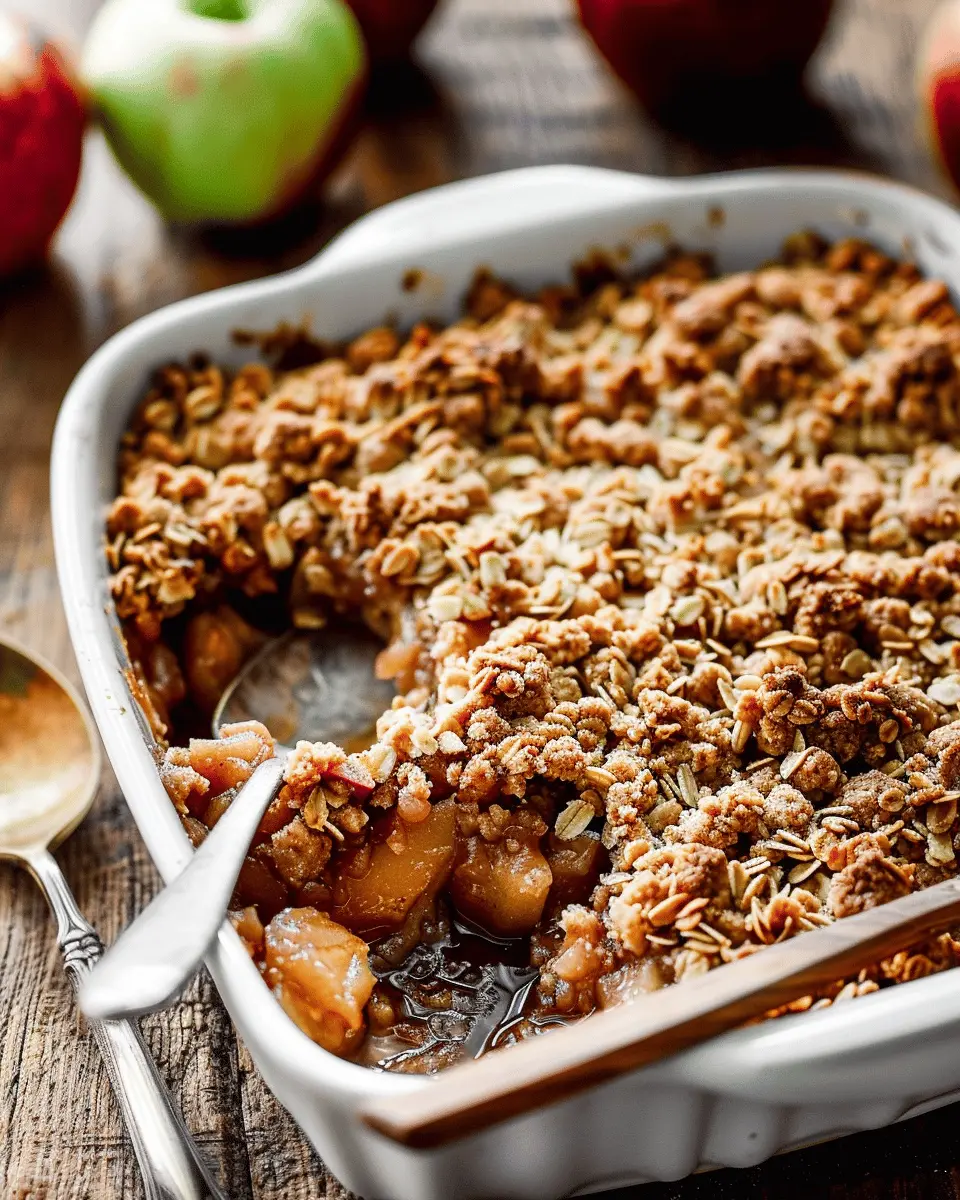
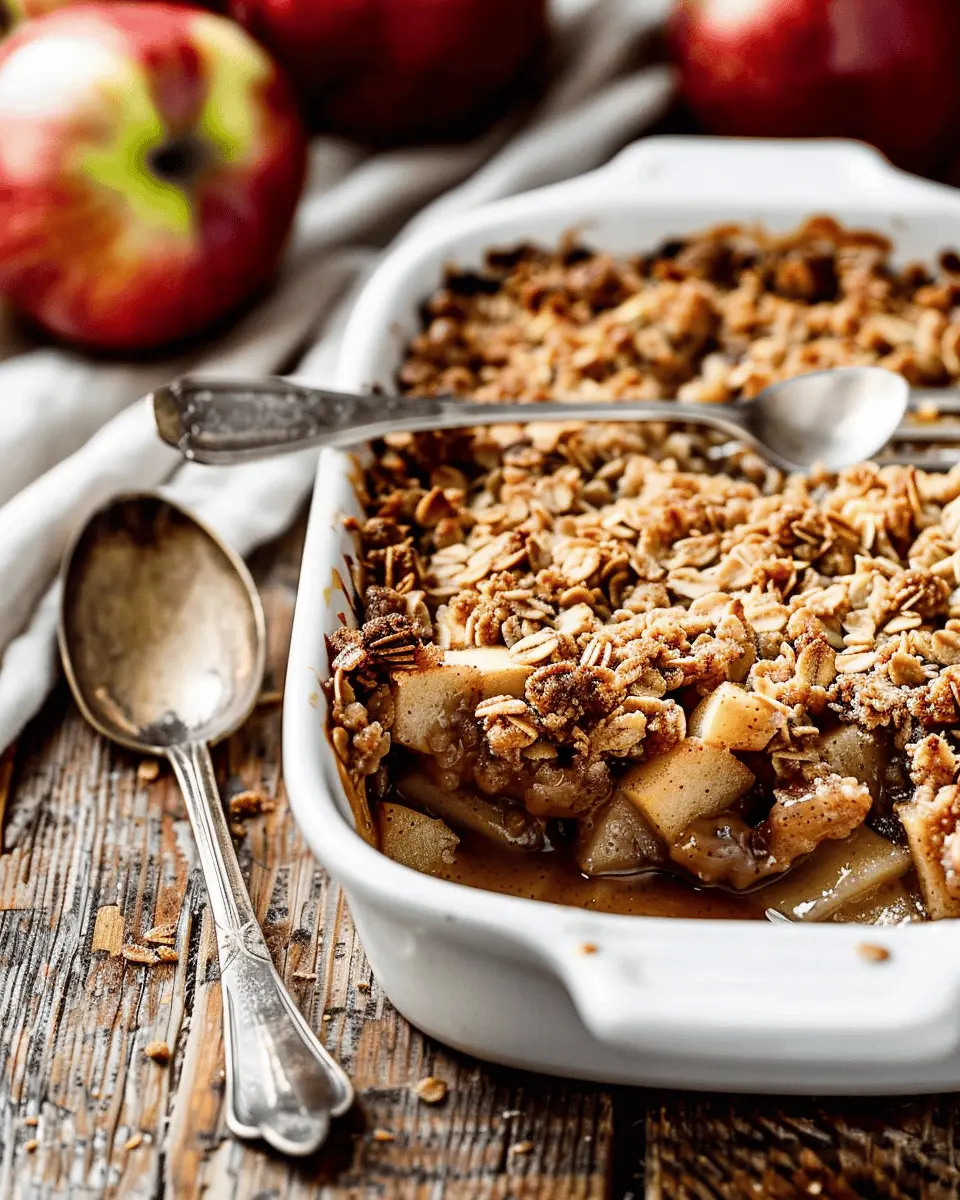
When you think of wholesome desserts, nothing beats the cozy, warm embrace of a classic apple crisp. This dish combines tender, juicy apples with a crispy, buttery topping, creating a symphony of flavors and textures that’s simply irresistible. If you’re ready to whip up this delightful dessert, here’s what you’ll need:
Whole ingredients for a simple yet delicious dessert
- Fresh Apples: About 6 cups (Granny Smith or Honeycrisp work beautifully).
- Granulated Sugar: Half a cup to enhance the natural sweetness of the apples.
- Cinnamon: A teaspoon to infuse warmth and spice into your crisp.
- Old-fashioned Oats: One cup for that delightful chewiness in the topping.
- All-Purpose Flour: Another cup to bind everything together.
- Brown Sugar: Half a cup adds a rich, caramel-like flavor.
- Butter: One stick, melted; it’s key to achieving that irresistible crunch.
- Salt: Just a pinch to balance the sweetness.
These ingredients come together effortlessly, making your classic apple crisp recipe a must-try for any occasion. Interested in more apple-based desserts? Check out this article from Bon Appétit for inspiration!
Step-by-step preparation for Classic Apple Crisp
Creating a delicious Classic Apple Crisp is more than just following steps — it’s about enjoying the process and savoring the end result. This warm, comforting dessert brings back memories of cozy autumn evenings, family gatherings, and homey kitchens. Let’s dive into the preparation process, ensuring you’re set up for success from start to finish!
Gather your apples and get prepared
The first step in whipping up a classic apple crisp recipe is selecting the right apples. And, let’s be real: the apples you choose can dramatically impact the flavor of your dish. Opt for a mix of tart and sweet apples. Here are some fantastic varieties to consider:
- Granny Smith: Tart and crisp, perfect for balance.
- Honeycrisp: Sweet and juicy, adds a delightful texture.
- Fuji or Gala: Naturally sweet, ideal for a smoother filling.
Once you have your apples, it’s time to wash, peel, and slice them. Aim for slices about 1/4 inch thick; this helps them cook evenly. You could also prepare your workspace by gathering the other ingredients, which include:
- Sugar
- Cinnamon
- Nutmeg
- Flour
- Oats
- Butter
Having everything on hand keeps things smooth as you move forward. Pro tip: Preheat your oven to 350°F (175°C) while you work — this saves time!
Make the perfect apple filling
Next up is crafting that mouthwatering apple filling. Start by tossing your sliced apples in a large mixing bowl. Add in:
- 1/2 cup of sugar (adjust depending on your taste)
- 1 teaspoon of cinnamon
- A pinch of nutmeg
Mix these ingredients well. The sugar will help create a luscious syrup as the apples bake. Consider checking out sources like Food Network for a deep dive into the science of balancing flavors; it can enhance your cooking skills significantly.
Before you transfer this mix into your baking dish, let it sit for a few minutes. This allows the juices to mingle, which adds to that rich flavor we’re after.
Create the irresistible topping
The topping is where the magic happens! In a separate bowl, combine:
- 1 cup of all-purpose flour
- 1 cup of old-fashioned oats
- 1 cup of brown sugar
- 1/2 cup of cold butter (cut into small pieces)
Using your fingers or a fork, mix these until they resemble coarse crumbs. This will create that delightful crunch that complements the softened apples beautifully. If you want an extra kick, consider adding a teaspoon of vanilla extract — it’ll make your kitchen smell heavenly!
Assemble your apple crisp
Now we’re on the home stretch! Grease your 9×13 baking dish lightly and pour in the apple filling, spreading it evenly. Then, sprinkle your topping generously over the apples. Make sure to cover all the filling; this will ensure every slice has that perfect blend of textures.
Bake to golden perfection
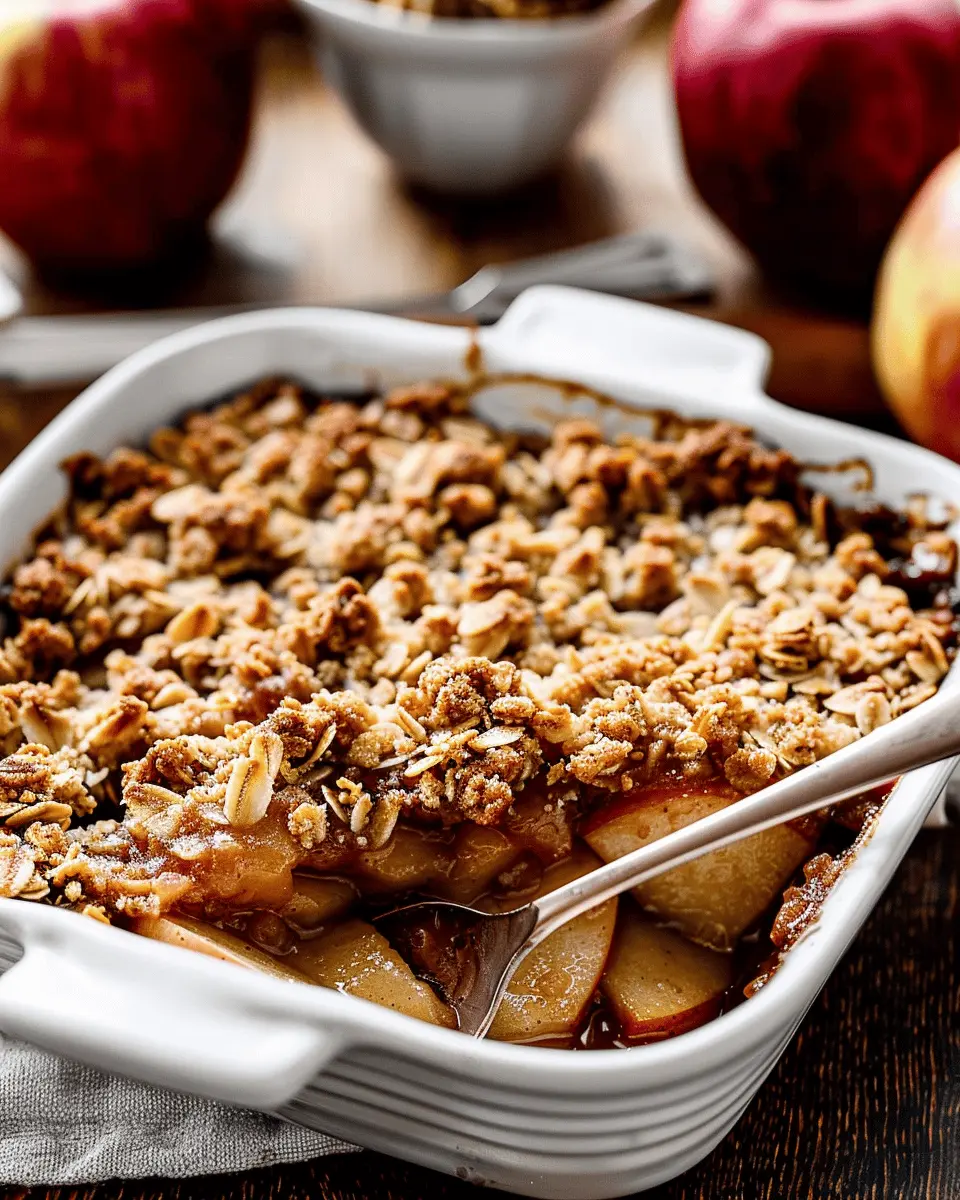
It’s time for the oven to work its magic! Pop your assembled Classic Apple Crisp into the preheated oven and bake for about 40-45 minutes, or until the topping is golden brown and the filling is bubbly. The sweet aroma that fills your kitchen during this time is absolutely irresistible.
For a lovely finish, consider serving your crisp warm with a scoop of vanilla ice cream or a dollop of whipped cream. You’ll likely find yourself indulging in the delightful combination of flavors and textures.
Enjoy crafting your Classic Apple Crisp, and don’t forget to savor each step as you create this timeless dessert!
Variations on Classic Apple Crisp
Apple crisp is a versatile dessert that welcomes creativity. Don’t be afraid to experiment! Here are a couple of variations that can elevate your classic apple crisp recipe to new heights.
Gluten-Free Apple Crisp
For those with gluten sensitivities or preferences, crafting a gluten-free version of your classic apple crisp is surprisingly easy. Swap out traditional flour with alternatives like almond flour, oat flour, or a store-bought gluten-free blend. You can also use certified gluten-free rolled oats in your topping. Just make sure to check the labels to ensure everything is truly gluten-free. This version maintains that delightful texture while allowing everyone to indulge without worry!
Adding a Twist with Caramel or Nuts
Want to add some flair to your apple crisp? Think about drizzling caramel over your apples before adding the crumble topping. The gooey sweetness complements the tartness of the apples beautifully. Walnuts or pecans can also be a fantastic addition to the topping—just chop them up and mix them in for an extra crunch.
Imagine pulling a warm dish out of the oven, the aroma filling your kitchen, and seeing that buttery, golden crisp with crunchy nuts and luscious caramel bubbling beneath. Yum!
Feel free to customize based on what you love or have on hand. For more apple crisp ideas, check out this resource on dessert variations. Happy baking!
Cooking Tips and Notes for Classic Apple Crisp Recipe
Perfecting Texture and Flavor Balance
Crafting the perfect classic apple crisp recipe is all about finding that sweet spot between crisp topping and tender apples. Here are some tips to help you achieve an irresistible dish:
-
Choosing Apples: Opt for a mix of tart and sweet apples like Granny Smith and Honeycrisp. This combo not only enhances flavor but also contributes to a better texture. You can find more on apple varieties at California Apple Commission.
-
Don’t Skimp on the Topping: The topping should be crumbly yet substantial. Use cold butter and try cutting it into your dry mixture until it resembles coarse crumbs. This provides that delicious crunch.
-
Let it Rest: Allow your apple crisp to cool for at least 15 minutes before serving. This helps the juices settle, giving you that delightful gooey texture without making the topping soggy.
Remember, cooking is as much about intuition as it is about technique. So, feel free to experiment and adjust as you go along! What variations have you tried in your apple crisp?
Serving suggestions for Classic Apple Crisp
When it comes to serving your classic apple crisp recipe, the right accompaniments can elevate your dessert to new heights. While your crisp will shine on its own, pairing it with the perfect side can enhance flavors and textures.
Delightful accompaniments: ice cream and whipped cream
One of the best ways to enjoy your apple crisp is with a generous scoop of vanilla ice cream. The creamy, cold texture contrasts beautifully with the warm, spiced apples and crunchy topping. As the ice cream melts, it creates a delightful sauce that seeps into every bite.
Whipped cream is another fabulous option. It adds a light, airy touch that balances the richness of the crisp. You can even try flavored whipped creams, like cinnamon or maple, for an extra twist!
If you’re feeling adventurous, consider drizzling a bit of caramel or a sprinkle of nuts atop your serving. These simple additions can make your dessert even more inviting. For more tips, check out Food Network for creative serving ideas!
Time breakdown for Classic Apple Crisp
Preparation time
Getting your ingredients together for this classic apple crisp recipe takes approximately 15 minutes. During this time, you’ll want to peel, core, and slice your apples—granny smith and honeycrisp are great choices for that sweet-tart balance. Don’t forget to gather your oats, flour, and spices as well!
Cooking time
Once everything is prepped, the baking takes about 45 minutes. This is when the wonderful aromas fill your kitchen, tempting your taste buds. The crisp should be golden brown and bubbling by the time it’s ready to come out of the oven.
Total time
In total, you’re looking at about an hour of dedicated time to create this delicious treat. Perfect for a cozy evening at home or to impress guests! Remember, homemade desserts often bring people together. For tips on using seasonal apples, check out this informative guide. Enjoy your baking adventure!
Nutritional Facts for Classic Apple Crisp
When indulging in a warm bowl of classic apple crisp, knowing its nutritional profile can help you enjoy it guilt-free. Here’s a quick overview of what to expect nutritionally from this scrumptious dessert:
Calories
A single serving of this classic apple crisp recipe typically contains around 200-300 calories, depending on portions and ingredients used. It’s a delightful treat that won’t derail your diet plans when enjoyed in moderation!
Carbohydrates
This dessert is higher in carbohydrates, with approximately 35-45 grams per serving. Most carbs are derived from the natural sugars in apples and the oats added in the crisp topping. Remember, fruits like apples provide not only sweetness but also essential vitamins and minerals.
Dietary Fiber
One of the best parts? You’ll find about 3-5 grams of dietary fiber per serving. Not only does this help keep you feeling full longer, but it also supports digestion. Including whole grains, like oats in your crisp, adds that extra fiber boost. If you’re interested in the benefits of dietary fiber, check out this CDC article on dietary fiber.
By embracing the rich flavors and textures in classic apple crisp, you’re treating yourself well, both in taste and nutritional value. So why not gather your ingredients and whip up a batch this weekend? You won’t regret it!
FAQs about Classic Apple Crisp
Can I use frozen apples for the filling?
Absolutely! Using frozen apples can be a convenient option when fresh ones aren’t in season. Just remember that frozen apples tend to release more moisture as they bake, so it’s a good idea to adjust the sugar and possibly add a tablespoon of flour to help absorb some of the excess liquid. This tweak can help you achieve that perfectly balanced filling in your classic apple crisp recipe.
What’s the best way to store leftovers?
If you find yourself with leftover apple crisp (which can be a delightful surprise!), store it covered in the refrigerator. It will typically last about 3 to 4 days. When it’s time to enjoy another serving, you can reheat individual portions in the microwave or bake it in the oven at 350°F for about 15 to 20 minutes to keep that crisp topping nice and crunchy. Want a little extra warmth and flavor? Serve it with a scoop of vanilla ice cream!
How can I make my apple crisp crispier?
A crispy topping is key to a great apple crisp. To ensure your topping stays crunchy, consider the following tips:
- Use oats! They add chewiness and texture.
- Experiment with different flours, like almond or coconut, to enhance the crunch.
- Don’t forget to sprinkle a bit of coarse sugar on top before baking for that extra bit of caramelization.
Feeling adventurous? Check out some expert tips on achieving the ideal crumble from sources like Serious Eats or Bon Appétit. These insights can elevate your baking game and keep your diners impressed!
Conclusion on Classic Apple Crisp Recipe
Embracing the warmth of home with every bite
There’s something truly special about the classic apple crisp recipe that brings the essence of home right into your kitchen. Every time you pull a golden, bubbling dish from the oven, it feels like a warm embrace on a cool evening. This recipe marries the tartness of apples with a wholesome, crunchy topping, providing a delightful contrast that makes it a family favorite.
Sharing a slice with loved ones not only creates lasting memories but also sparks conversations about seasonal traditions. And let’s not forget how simple it is to customize with your favorite spices or toppings. So why not make this comforting dessert your go-to?
For more recipe inspiration, consider checking out the culinary tips from sources like Serious Eats or The Kitchn. Happy baking!
PrintClassic Apple Crisp Recipe: The Best Comfort in Every Bite

This classic apple crisp recipe is the perfect comfort food, combining sweet apples and a crumbly topping for the ultimate dessert.
- Prep Time: 15 minutes
- Cook Time: 45 minutes
- Total Time: 1 hour
- Yield: 8 servings 1x
- Category: Desserts
- Method: Baking
- Cuisine: American
- Diet: Vegetarian
Ingredients
- 6 cups sliced apples
- 1 cup brown sugar
- 1 cup rolled oats
- 1 cup flour
- 1 teaspoon cinnamon
- 1/2 cup butter, softened
Instructions
- Preheat the oven to 350°F (175°C).
- In a bowl, combine the sliced apples with half of the brown sugar and cinnamon.
- Spread the apple mixture in a greased baking dish.
- In another bowl, mix the oats, flour, remaining brown sugar, and softened butter until a crumbly topping forms.
- Sprinkle the topping over the apples evenly.
- Bake for 40-45 minutes or until the top is golden brown.
- Let it cool slightly before serving.
Notes
- Serve warm with vanilla ice cream for an extra treat.
- You can use a mix of apples for more flavor.
Nutrition
- Serving Size: 1 cup
- Calories: 200
- Sugar: 18g
- Sodium: 50mg
- Fat: 7g
- Saturated Fat: 4g
- Unsaturated Fat: 2g
- Trans Fat: 0g
- Carbohydrates: 32g
- Fiber: 3g
- Protein: 2g
- Cholesterol: 15mg
Keywords: apple crisp, classic dessert, comfort food, easy recipe