Introduction to the Ultimate Challah Recipe
What is Challah and Why Should You Make It?
Challah is more than just a loaf of bread—it’s a symbol of tradition, community, and celebration. Originating from Jewish culture, this braided bread is often served during Shabbat and holidays, but don’t let that fool you into thinking it’s only for special occasions. The joy of making challah can transform an ordinary day into a memorable one. Plus, creating your own bread is incredibly satisfying and a delightful way to impress your friends and family.
So, what makes challat so special? The rich, slightly sweet flavor, along with its soft, fluffy texture, leaves you craving more. Baking your own allows you to customize it to your liking, whether that’s a sprinkle of sesame seeds on top or infusing it with delicious flavors like honey or cinnamon. Learn more about the health benefits of homemade bread here.
When you embark on making the ultimate challah recipe, you are also diving into a new culinary adventure. Imagine the comforting aroma of freshly baked bread wafting through your home, creating an inviting atmosphere. Plus, kneading the dough can be a great stress-reliever—who needs yoga when you can get your hands floury?
Not only is this recipe a feast for the senses, but it also serves as a great opportunity to bond. Whether you’re baking alone or inviting friends over for a challah-making party, it’s an experience that comes with laughter, chatter, and delicious results. Want to learn about the different challah techniques? Take a look at this beautiful overview here.
In this article, you’ll discover step-by-step instructions for creating the ultimate challah recipe, including tips for perfecting your braid and achieving that golden crust. Trust me, once you try baking your own, store-bought bread will never be the same! So grab your ingredients, and let’s get started on this wonderful baking journey.
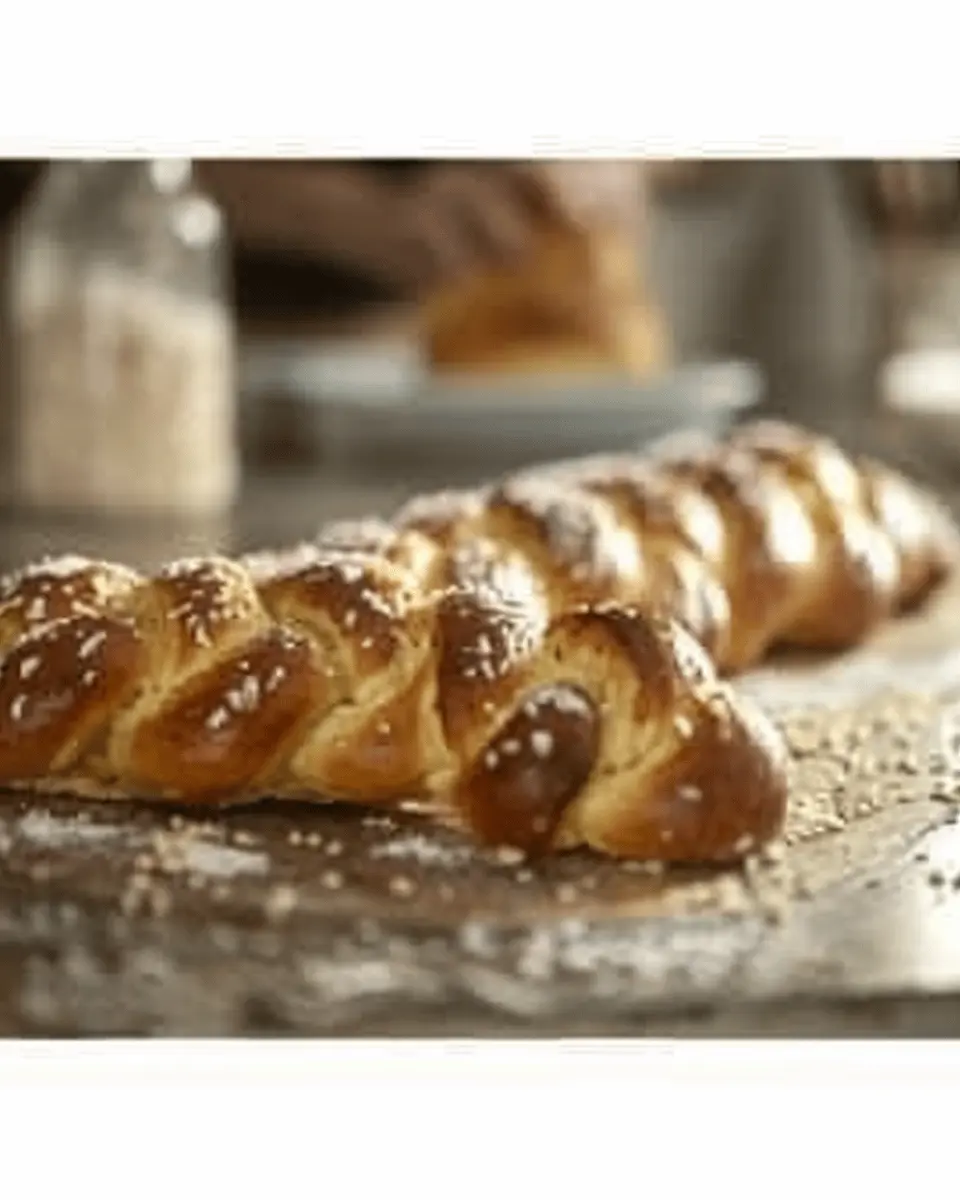
Ingredients for the Ultimate Challah Recipe
Creating the ultimate challah recipe starts with selecting the right ingredients, which can make a world of difference in flavor and texture. Below, you’ll find the essentials that form the cornerstone of your delicious loaf.
Essential Ingredients
- Flour: All-purpose flour is your best bet here for that perfect balance of strength and softness.
- Water: Use warm water to help activate the yeast, giving your bread a great rise.
- Yeast: Active dry yeast or instant yeast works effectively to create that lovely airy texture.
- Sugar: This will not only add a hint of sweetness but also help with the browning of the crust.
- Salt: Don’t skip on salt; it enhances the flavor and controls yeast fermentation.
- Eggs: These are the stars of the show, providing richness and that beautiful golden color.
- Oil: Choose neutral oil, like canola, for moisture and softness.
Optional Add-ins for Flavor
Feeling adventurous? Consider elevating the ultimate challah recipe with these tasty additions:
- Seeds: Sesame or poppy seeds sprinkled on top add a delightful crunch.
- Nuts and Dried Fruit: Think walnuts, pecans, or raisins for a sweet twist.
- Spices: Cinnamon or cardamom can introduce a warm note that dances on your palate.
By selecting these ingredients thoughtfully, you’re on your way to creating a challah that not only looks stunning but tastes divine. Ready to bring your baking skills to the next level? Check out the importance of good yeast here for even more insights!
Step-by-step Preparation of the Ultimate Challah
Prepare Your Workspace and Ingredients
Before diving into the ultimate challah recipe, it’s crucial to set yourself up for success. A clean, organized workspace can make all the difference when creating this beautiful bread. Here’s what you’ll need:
- All-purpose flour
- Sugar
- Salt
- Yeast (active dry or instant)
- Warm water
- Eggs
- Vegetable oil (or your preferred oil)
- Honey
Take out all your ingredients and measuring tools, and let’s get started! Having everything ready will streamline the process and help you avoid any last-minute scrambles.
Mixing the Dough
Now that your workspace is prepped, let’s mix the dough. In a large mixing bowl, start by dissolving your yeast in warm water (about 110°F). Allow it to sit for about 5-10 minutes until it becomes bubbly—a sign that it’s active.
Once bubbly, add sugar, oil, honey, and eggs to the mixture. Use a whisk or fork to thoroughly combine the ingredients, creating a rich, fragrant mixture. Afterward, it’s time to add in the flour and salt. Gradually incorporate the flour until the mixture starts forming a sticky dough.
If you’d like, you can check out more tips on yeast and bread-making from King Arthur Baking for insights into getting the best results.
Kneading to Perfection
With the dough mixed, it’s kneading time! Flour your surface lightly, and turn the dough out onto it. Knead it for about 8–10 minutes until it’s smooth and elastic—a key texture for that perfect challah.
Don’t be afraid to get your hands into it; challenge yourself! This tactile experience is what baking is all about. Remember, if the dough is too sticky, you can add a little flour as you knead, but avoid adding too much.
First Rise
Now that your dough is kneaded, it’s time for the first rise. Place it in a lightly greased bowl and cover with a damp towel or plastic wrap. Let it sit in a warm, draft-free area for about 1–2 hours, or until it has doubled in size.
You can use this time to reflect—what flavors are you hoping to highlight in your challah? Maybe you’ll add a sprinkle of sesame or poppy seeds for texture.
Shaping the Challah
Once your dough has risen beautifully, it’s time to shape it. First, gently punch down the dough to release any air bubbles. Then, divide it into three or four equal pieces, depending on your desired braid style.
Roll each piece into long ropes, about 12–15 inches long, tapering the ends. Start braiding from the center and work your way to the ends for an elegant finish. If you’re not sure how to braid, there are fantastic resources available, like this instructional video on YouTube.
Second Rise
Afterbraiding, place your shaped challah on a baking sheet lined with parchment paper and cover it again. Allow it to rise for another 30-45 minutes while you preheat the oven to 350°F. This second rise is integral as it will give your challah a light, airy texture.
Baking the Challah
Finally, it’s the moment we’ve all been waiting for! Brush the risen dough with an egg wash (a simple mix of beaten egg and water) for that beautiful golden crust. If desired, sprinkle your choice of seeds on top.
Bake your challah in the preheated oven for 25-30 minutes, or until it’s golden brown and sounds hollow when tapped. The aroma will fill your home—friends and family will start to gather, intrigued by the delightful scents wafting from the kitchen.
And there you have it—the ultimate challah recipe, ready to be shared, enjoyed, and savored! Don’t forget to celebrate your success; your efforts will shine through in every delicious bite.
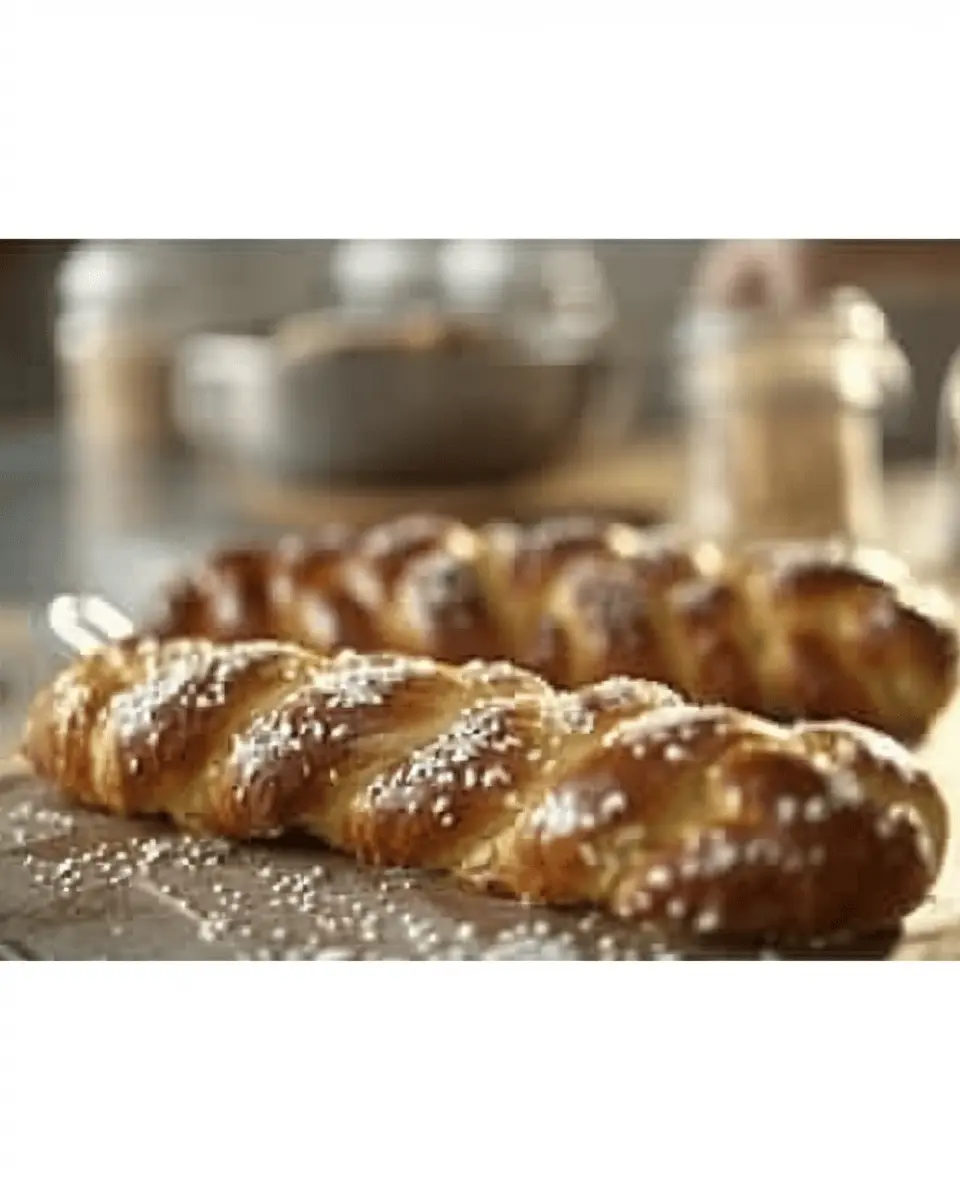
Creative Variations of the Ultimate Challah
Challah is one of those special bread recipes that welcomes endless innovation. Once you master the ultimate challah recipe, it’s time to let your imagination run wild! Here are some delightful variations to elevate your dining experience.
Sweet Honey Challah
Imagine pulling apart a loaf of challah that’s dripping with sweetness! By adding a generous amount of honey to the dough, you’ll have a beautifully rich flavor that pairs perfectly with your morning coffee. You can even brush the top with a honey-egg wash before baking for an extra glossy finish. This loaf is great for breakfast or as a base for French toast. Serve it with a side of fresh fruit for a delightful brunch option.
Savory Herb Challah
For those afternoons when you’re craving something a bit more savory, try infusing your challah dough with fresh herbs like rosemary, thyme, and garlic. The aroma alone will make your kitchen feel like a gourmet bakery. This variation can serve as an excellent side for soups or as a base for a veggie sandwich. Trust me, this herb-infused loaf will make your taste buds dance!
Chocolate and Nut Challah
If you believe that chocolate makes everything better, then get ready for your new favorite dessert bread! By folding in dark chocolate chunks and chopped nuts like walnuts or pecans into the dough, you create a decadent treat that pairs beautifully with coffee or dessert wine. It’s an ideal option for holiday gatherings or just a cozy night in. Who will say no to a slice of chocolate-hazelnut challah?
Exploring these creative twists on the ultimate challah recipe not only showcases versatility but will surely amuse your family and friends. Don’t be afraid to get experimental – your perfect loaf is just a mix away! For more tips and intricate recipes, consider checking this culinary website that dives deeper into baking techniques. Happy baking!
Cooking Tips and Notes for Perfect Challah
Common Mistakes to Avoid
When making the ultimate challah recipe, there are a few pitfalls you can easily sidestep:
- Over-kneading: While you want a well-developed dough, too much kneading can lead to a tough loaf. Aim for a smooth and elastic texture without going overboard.
- Inaccurate measurements: Baking is a science! Use a kitchen scale for precise ingredient amounts, especially flour and water. A small variation can affect your bread’s texture dramatically.
- Skipping the first rise: Patience is key! Allow your dough to double in size for the best flavor and texture.
Essential Tools for Success
Equip yourself with the right tools to create your ultimate challah. Here’s what you’ll need:
- Stand mixer: It can save time and effort while kneading your dough.
- Large mixing bowl: For the initial mixing and rising—make sure it’s spacious!
- Bench scraper: This handy tool helps with portioning and shaping dough.
For more pro baking advice, check out sources like the King Arthur Baking Blog or Serious Eats for additional inspiration and techniques. Enjoy the process, and soon you’ll be pulling out your own beautiful braided challah from the oven!

Serving Suggestions for the Ultimate Challah
When you whip up the ultimate challah recipe, the delicious possibilities for serving it are practically endless. Here are some ideas to elevate your challah experience!
Breakfast and Snack Ideas
Start your day right by toasting slices of your challah until golden brown. Top it with:
- Turkey Bacon and Avocado: The creaminess of avocado pairs beautifully with the fluffy, sweet bread.
- Scrambled Eggs: A classic breakfast that turns into something special when served on challah.
- Fruit Spread: Spread a generous layer of your favorite jams or fruit preserves for a sweet morning treat.
Pairing with Spreads and Dips
Want to impress guests? Serve your challah with an array of delicious dips:
- Hummus: The nutty flavor of chickpeas complements the slightly sweet taste of challah.
- Cream Cheese: A creamy spread adorned with fresh herbs brings a delightful twist.
- Spinach Dip: Get your veggies in while enjoying the rich texture of this classic dip.
Feel free to experiment! With the ultimate challah recipe in your culinary arsenal, you’re sure to please at any meal. For inspiration, check out this guide on dips that will definitely take your challah game to the next level!
Time Breakdown for the Ultimate Challah Recipe
Planning to make the ultimate challah recipe? Timing is key! Here’s how you can break down the preparation to ensure success.
Preparation Time
Expect to spend about 20-30 minutes on preparation. This includes measuring and mixing your ingredients until they form a beautiful dough. Consider playing some background music to make the process enjoyable!
Rising Time
Don’t rush this step! Your dough needs 1-2 hours to rise. This allows it to achieve that airy and fluffy texture that makes challah so special. Keep an eye on it and maybe even do a little dance while you wait!
Baking Time
Once risen, baking will take around 30-35 minutes. You’ll want to keep an eye on the color—golden-brown is the sweet spot!
Total Time
All together, you’re looking at about 2-3 hours from start to finish, including the rising time. Not too bad for a loaf of homemade bliss!
For more detailed baking tips, check out this comprehensive guide on dough rising to ensure you get great results. Enjoy the delicious journey of baking the ultimate challah recipe!
Nutritional Facts of the Ultimate Challah
Calories per Slice
When diving into the ultimate challah recipe, you’ll find that each slice typically contains around 90 to 120 calories. This can vary based on your ingredient choices and serving sizes, but it’s a delightful treat that can fit into many diets!
Protein Content
In terms of protein, each slice usually delivers about 3 grams. While this isn’t a powerhouse of protein, pairing your challah with spreads or toppings like Turkey Bacon or Chicken Ham can elevate its nutritional profile. Making mindful choices can make your meal both satisfying and nourishing.
Dietary Considerations
If you’re looking to enjoy this traditional bread, it’s worth noting that challah is usually not gluten-free due to its wheat-based ingredients. However, for those without gluten sensitivities, it offers a warm, comforting option. You might want to check out alternatives or enhancements for different dietary needs, such as egg-free challenges or vegan options!
For more insights into balanced eating, the American Heart Association provides excellent resources on integrating delightful treats like challah into a healthy diet while respecting dietary restrictions. It’s all about balance!
FAQs about the Ultimate Challah Recipe
What makes challah different from regular bread?
Challah is unique due to its rich ingredients and braided shape. Unlike regular bread, which often focuses on simple flour, water, and yeast, challah incorporates eggs, honey, and oil, giving it a slightly sweet and enriched flavor profile. This tender texture and golden crust make it a spectacular centerpiece for any meal, especially during Jewish holidays! If you’re curious about its cultural significance, the Challah Bread site offers a wonderful overview.
Can I freeze challah?
Absolutely! Freezing challah is a great way to make sure you always have some delicious bread on hand. To ensure the best preservation:
- Cool your challah completely before wrapping it tightly in plastic wrap or aluminum foil.
- Place the wrapped bread in a freezer bag to prevent freezer burn.
- When you’re ready to enjoy it, simply thaw at room temperature and refresh it in the oven for a few minutes.
This method helps maintain its soft texture and delicious flavor.
How can I enhance the flavor of my challah?
Enhancing the flavor of your ultimate challah recipe doesn’t have to be complicated. Here are a few tips:
- Infuse your dough: Consider adding vanilla extract or citrus zest for a unique twist.
- Top it off: Before baking, brush your challah with an egg wash and sprinkle on sesame or poppy seeds for added texture and taste.
- Experiment with fillings: Try stuffing your dough with chocolate, dried fruit, or even savory options like garlic herbs for a fun spin.
By tinkering with these methods, you can customize your challah for any occasion. The possibilities are endless!
Conclusion on the Ultimate Challah Recipe
Your Journey to Homemade Happiness
Baking can be a transformative experience, and with the ultimate challah recipe, you’re well on your way to achieving homemade happiness. This journey is not just about the delicious end product; it’s about the moments spent mixing, kneading, and waiting—each step a chance to embrace mindfulness in your busy life.
Imagine gathering around the table, sharing warm, golden challah with friends, or savoring a slice toasted with butter and jam during your morning routine. For more baking inspiration, check out resources like the King Arthur Baking Company to expand your culinary adventures.
So, dust off that apron, and let’s create something special together!
PrintThe Ultimate Challah Recipe: Easy, Delicious, and Homemade Delight
This is the ultimate challah recipe that is easy to make and incredibly delicious.
- Prep Time: 15 minutes
- Cook Time: 30 minutes
- Total Time: 1 hour 45 minutes
- Yield: 1 loaf 1x
- Category: Bread
- Method: Baking
- Cuisine: Jewish
- Diet: Vegetarian
Ingredients
- 4 cups all-purpose flour
- 1/2 cup sugar
- 1 tablespoon salt
- 2 1/4 teaspoons active dry yeast
- 1 cup warm water
- 1/4 cup vegetable oil
- 4 large eggs
Instructions
- In a bowl, combine the warm water and yeast, let it sit for 5 minutes.
- Add sugar, oil, and eggs to the mixture.
- Gradually add flour and salt, kneading until smooth.
- Let the dough rise for about 1 hour in a warm place.
- Divide the dough into three pieces and braid them together.
- Let the braided dough rise again for 30 minutes.
- Preheat the oven and bake for 30 minutes until golden brown.
Notes
- For a richer flavor, use honey instead of sugar.
- Experiment with different toppings like sesame seeds.
Nutrition
- Serving Size: 1 slice
- Calories: 150
- Sugar: 5g
- Sodium: 150mg
- Fat: 5g
- Saturated Fat: 0g
- Unsaturated Fat: 4g
- Trans Fat: 0g
- Carbohydrates: 25g
- Fiber: 1g
- Protein: 4g
- Cholesterol: 30mg
Keywords: challah, bread, homemade
